
DIY vs professional dryer vent cleaning comes down to your vent. A short, straight run on an electric dryer that you can see from end to end is a reasonable DIY job.
Long, bent, gas, attic, and roof-exit runs belong with a professional, and some Fort Worth homes have those layouts.
Chimney Sweep Pro cleans dryer vents for Fort Worth homeowners from our base in Saginaw, TX. Not sure which side your vent falls on? Call (682) 354-6644.
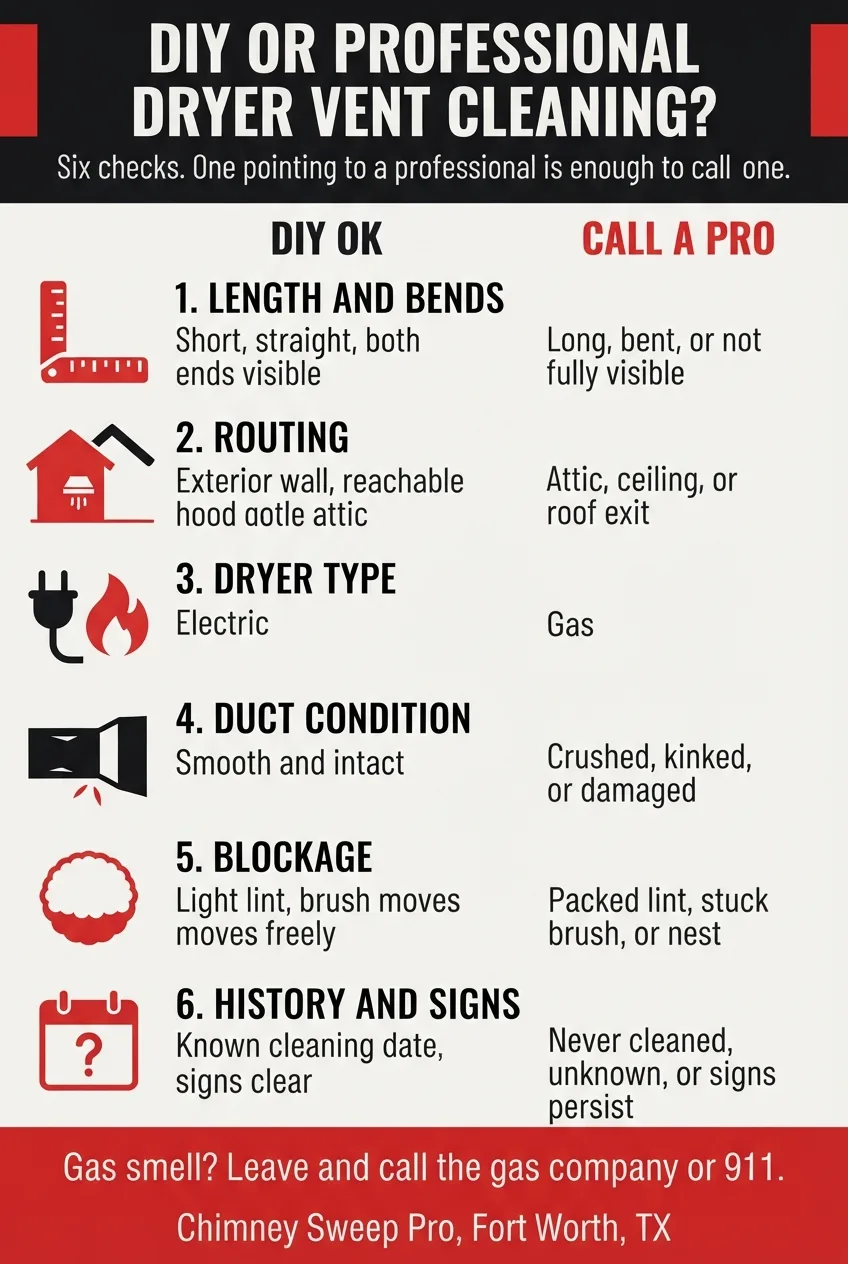
DIY vs professional dryer vent cleaning at a glance
Clean your dryer vent yourself only if the run is short, straight, and reachable, the dryer is electric, and you can see both ends of the duct. Call a professional for gas dryers, attic or roof runs, several bends, damaged duct, or signs that persist after a DIY cleaning.
| Check | DIY is reasonable | Call a professional |
|---|---|---|
| Length and bends | Short and straight, and you can see both ends | Long, several bends, or you cannot see the whole run |
| Routing | Exterior wall with a hood you can reach | Attic, ceiling, or roof exit |
| Dryer type | Electric | Gas |
| Duct condition | Smooth and intact | Crushed, kinked, or damaged |
| Blockage | Light lint and a brush that moves freely | Packed lint, a stuck brush, or a nest |
| History and signs | Known cleaning date, and signs clear after cleaning | Never cleaned, unknown history, or signs that persist |
Each check is explained below. One check pointing to a professional is enough to call one.
How do you decide between DIY and professional dryer vent cleaning?
Check your vent against the six factors in the table. If every factor points to DIY, cleaning it yourself is reasonable.
Length and bends
A short, straight run that you can see from end to end suits DIY. A long or bent run hides lint beyond the reach of a home kit.
Vent cleaning sources set the DIY limit anywhere from a few feet to about 12 feet with no bends. Use the short end of that range if you are unsure.
The guide to dryer vent length and routing shows how to measure your run.
Routing
A vent that exits through an exterior wall, with a hood you can reach from the ground, suits DIY. A vent that runs through the attic, through a ceiling, or up to a roof cap does not.
Do not climb onto the roof to clear a terminal. Roof and attic runs are harder to reach and harder to check.
Dryer type
An electric dryer is the only type this guide treats as a DIY candidate. A gas dryer has a gas line, and moving the dryer means working around it.
Consumer Reports tells gas dryer owners to shut off the gas valve and take care not to overstretch the gas line. Leave a gas dryer to a professional.
If you smell gas near the dryer, leave the house and call the gas company or 911.
Duct condition
A smooth, intact duct suits DIY. A crushed, kinked, or damaged duct needs repair, and cleaning does not fix it.
Whirlpool says foil and plastic duct can collapse or be crushed. A professional can tell you whether the duct needs repair or replacement.
Blockage
Light lint that a brush moves through freely suits DIY. Packed lint, a brush that stops and will not clear, or a nest points to a professional.
Pushing a brush into a packed duct can compact the lint instead of clearing it. Stop if the brush meets resistance that does not clear.
History and signs
A known cleaning date, and signs that clear after cleaning, suit DIY. A vent that was never cleaned, has an unknown history, or keeps showing signs calls for a professional.
The signs of a clogged dryer vent explain what persistent symptoms mean.
What does a DIY dryer vent cleaning involve?
A DIY cleaning means disconnecting the dryer, clearing the duct with a vacuum and a brush, and testing airflow. It fits only a short, straight, reachable run on an electric dryer.
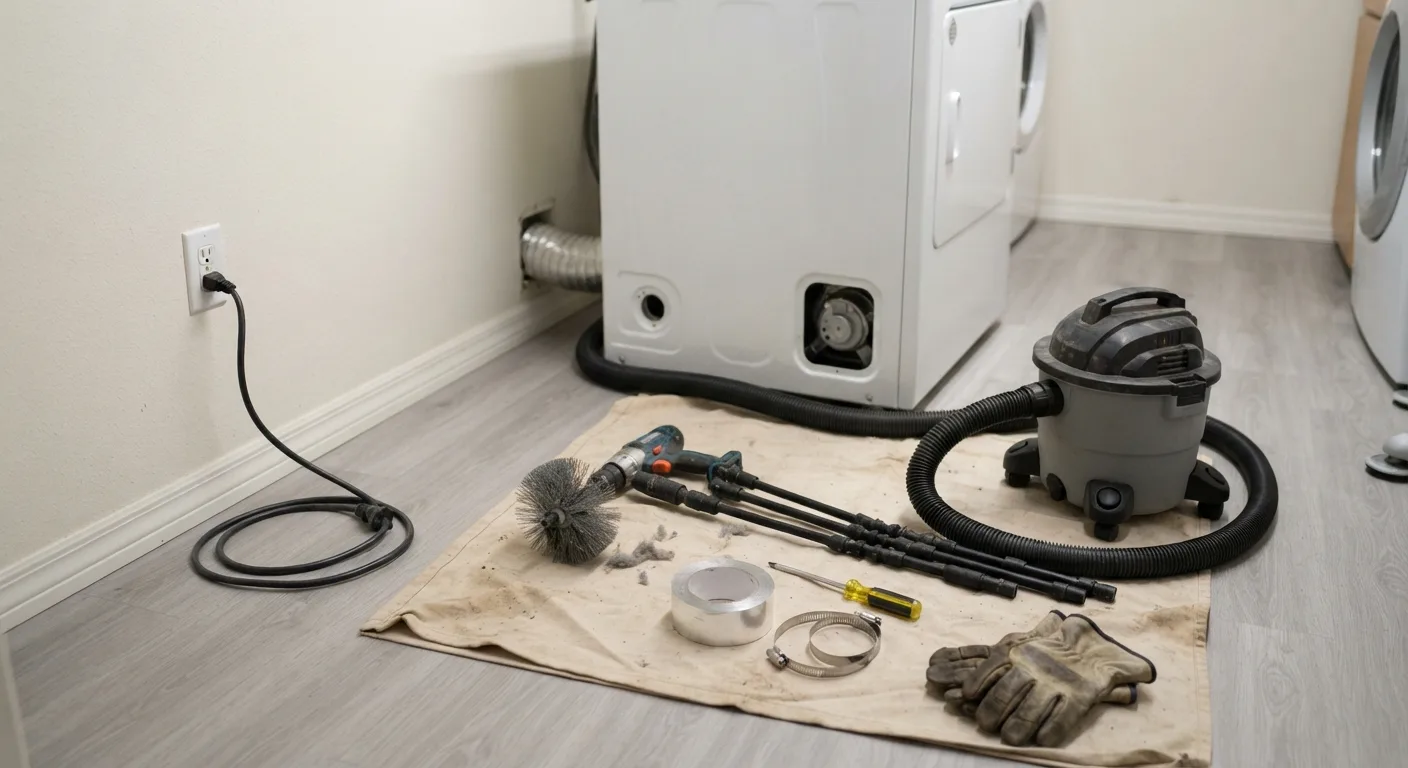
A drill-powered brush kit with flexible rods reaches farther than a vacuum alone. Most kit brushes fit a standard 4-inch duct.
Consumer Reports and Home Depot describe the same basic steps.
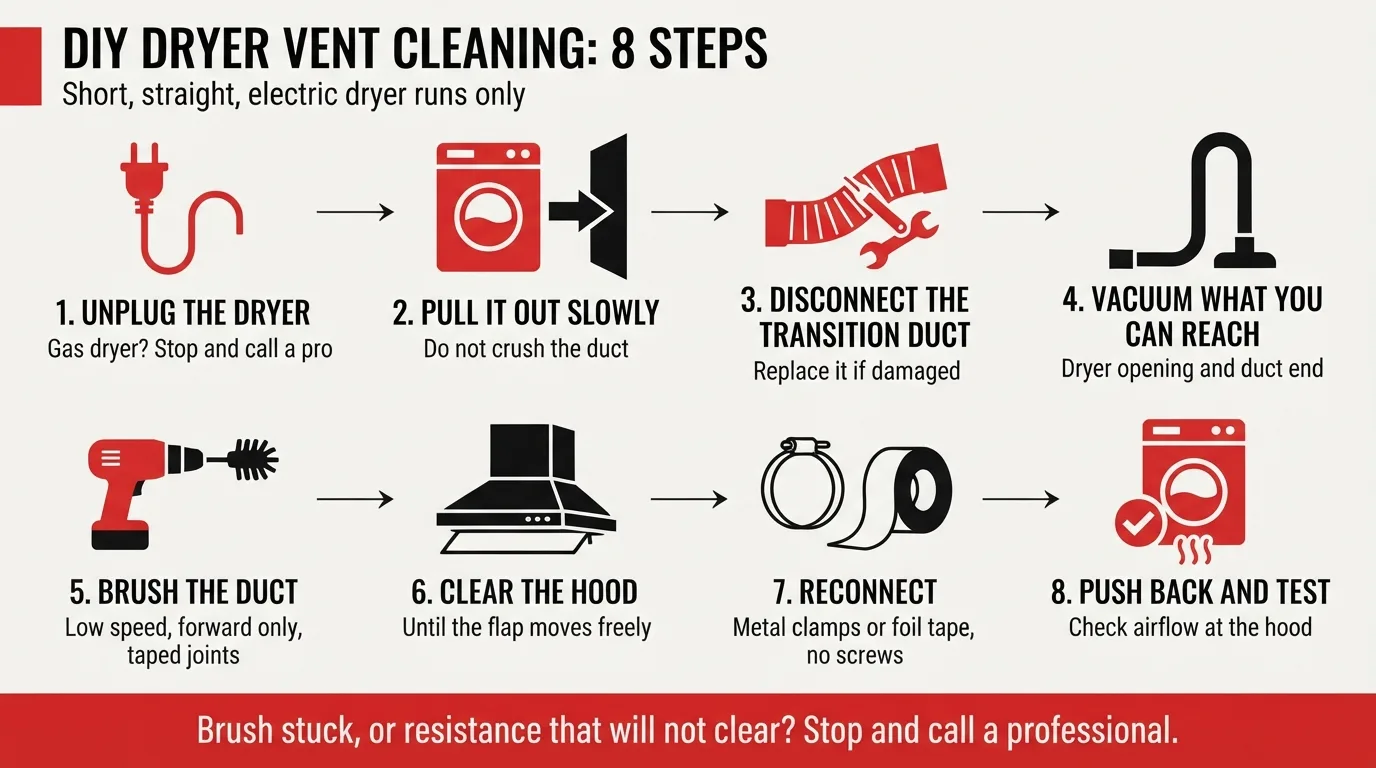
- Unplug the dryer. If it is a gas dryer, stop here and call a professional.
- Pull the dryer away from the wall slowly. Do not pull on the duct or crush it.
- Disconnect the transition duct from the dryer. Inspect it, and replace it if it is damaged.
- Vacuum what you can reach. Clean the dryer’s duct opening and the end of the duct.
- Run the brush through the duct. Tape the rod joints so they do not come apart inside the duct, and keep the drill at low speed in the forward direction only.
- Clear the exterior hood. Remove lint and debris until the flap moves freely.
- Reconnect the duct with metal clamps or foil tape. Do not use sheet-metal screws, which catch lint.
- Push the dryer back without crushing the duct, then run it. Confirm that air comes out of the hood.
Would you rather hand it off? Chimney Sweep Pro can clean the vent. Call (682) 354-6644.
What can a DIY kit not do?
A DIY kit clears the lint a brush can reach and nothing more. Three limits matter most.
- Reach: a kit cannot go past the length of its rods, and it cannot see around hidden bends.
- Damage: a brush run does not show a crushed or separated duct inside a wall.
- Airflow measurement: you can feel whether air is moving at the hood, but you cannot tell how much.
What are the most common DIY dryer vent cleaning mistakes?
The most common mistakes leave lint in the duct or damage the vent. Each one below is avoidable.
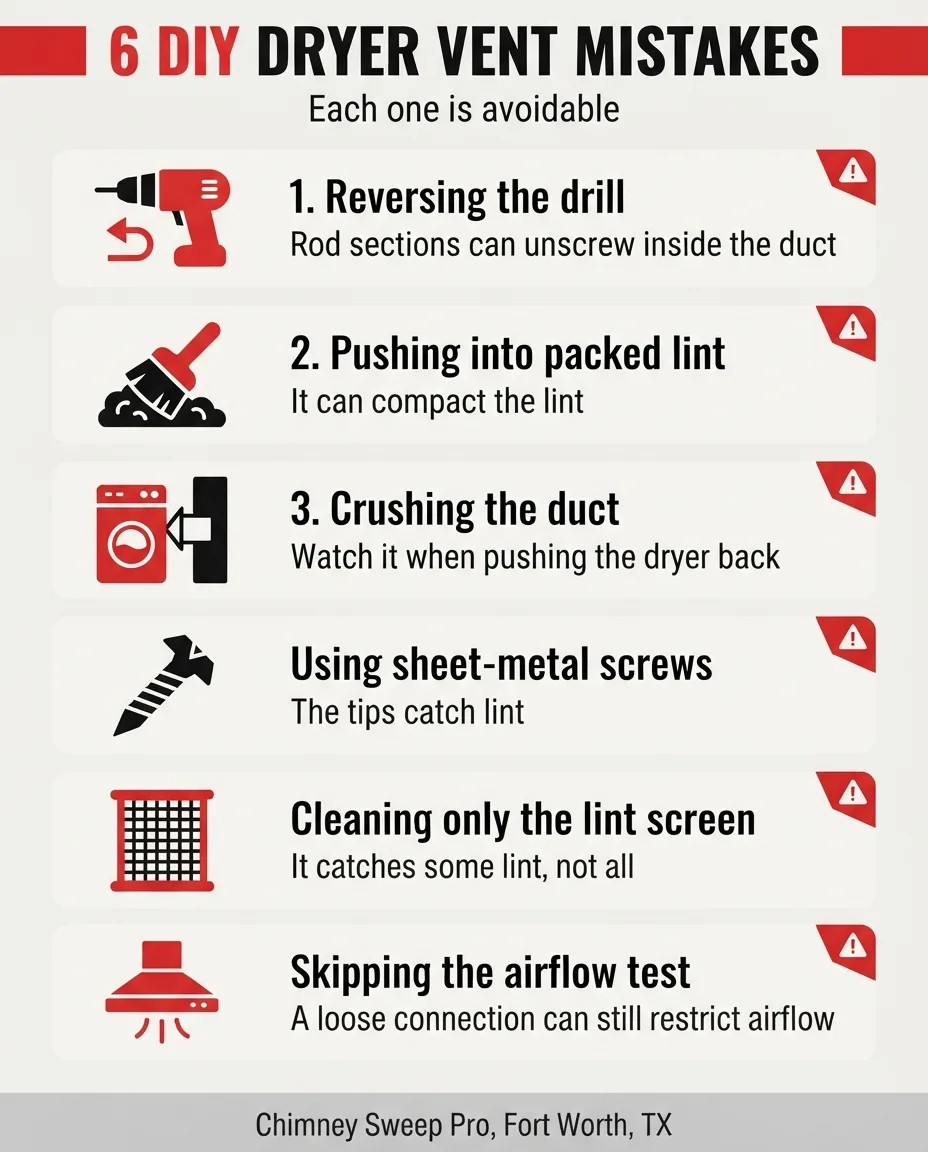
- Reversing the drill. Reverse can unscrew rod sections and leave them in the duct.
- Pushing a brush into packed lint. It can compact the lint instead of clearing it.
- Crushing the duct when pushing the dryer back. A crushed duct restricts airflow again.
- Joining duct with sheet-metal screws. The screw tips catch lint.
- Cleaning only the lint screen. The screen catches some lint on each cycle, not all of it.
- Skipping the airflow test. A loose or kinked connection can restrict airflow even after a clean duct.
How safe is cleaning a dryer vent yourself?
Cleaning a dryer vent yourself is reasonably safe on a short, straight, reachable electric dryer run. The risks rise with heavy lifting, sharp tools, and any sign of overheating.
- Unplug the dryer before you touch the duct.
- Avoid sharp tools, which can damage the duct or create sparks, according to Home Depot’s guide.
- Wear gloves and a mask, because lint dust is messy.
- Get help moving the dryer. It is heavy and easy to drag across the duct.
- Stop if you smell burning or see smoke during or after a cleaning. Follow the steps in the guide to dryer vent fires.
What do professionals do that a DIY cleaning does not?
Professional services typically inspect the whole duct run, clean its full length, clear the exterior hood, and check for damage. Many also measure airflow before and after cleaning.
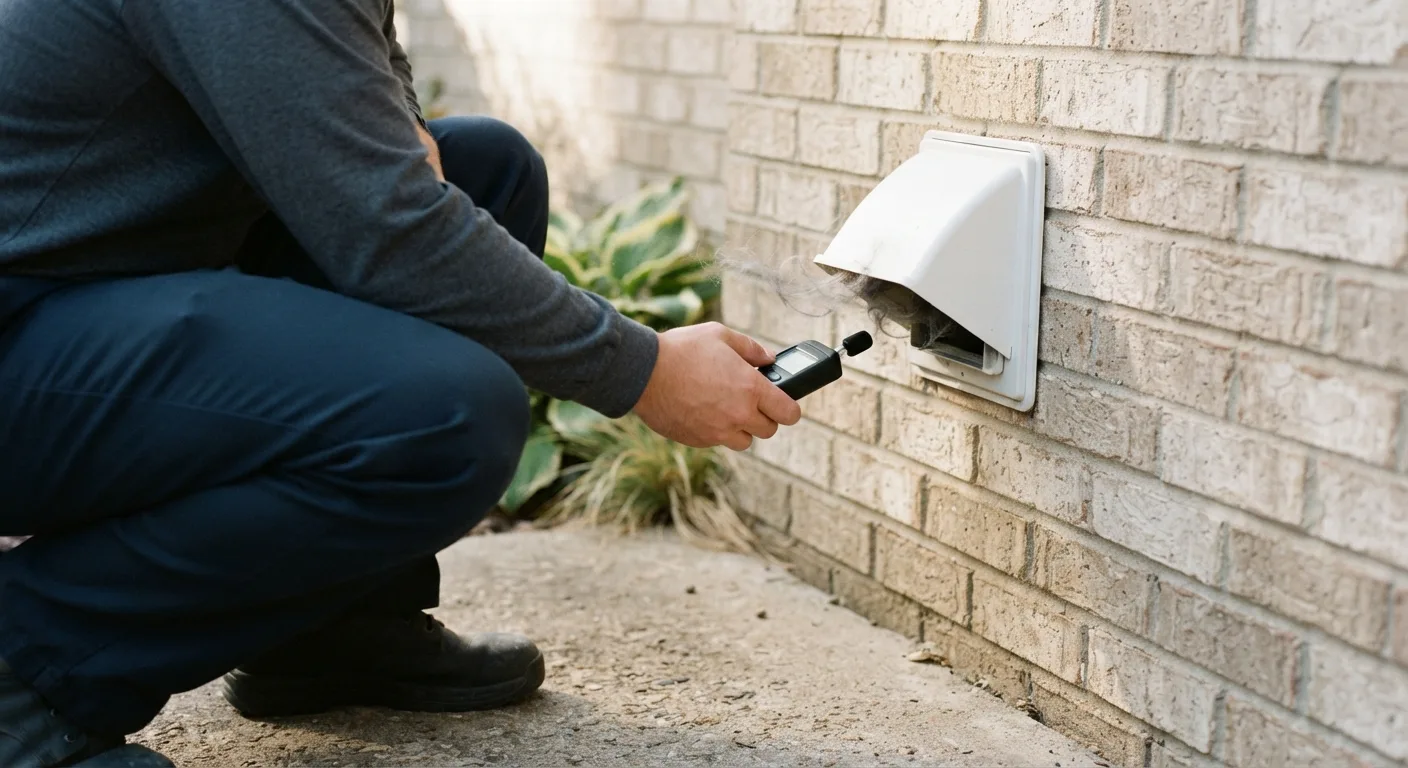
Whirlpool’s product help says you can have a professional vent cleaning service inspect your vent for obstructions.
Companies differ, so ask what a visit includes.
What drives the cost of professional dryer vent cleaning?
Run length, bends, access, blockage, and condition drive the cost of a professional cleaning. Each one adds time or work.
| Factor | How it affects the cost |
|---|---|
| Run length | Longer runs take more time and equipment |
| Bends | More bends make the run harder to clear |
| Access | Attic and roof runs need more setup |
| Blockage | Packed lint or a nest takes longer to remove |
| Condition | A damaged duct or hood may need repair in addition to cleaning |
Ask what the quote covers and whether repairs would be extra.
What does DIY cost in time, tools, and mess?
DIY costs time, a few tools, and a messy afternoon. The bigger cost is a mistake that leaves the vent restricted.
You need a drill-powered brush kit, a vacuum, clamps or foil tape, and a screwdriver. A short, accessible duct often takes about an hour or more, and you may need help moving the dryer.
How do you choose a dryer vent professional?
Choose a professional who can explain credentials, process, and results. Ask these questions before you book.
- Which certification do your technicians hold? The CSIA Certified Dryer Exhaust Technician credential comes from an exam that the Chimney Safety Institute of America administers and grades.
- What does a visit include? Look for a full-run inspection, cleaning of the whole duct and hood, and a damage check.
- Do you check airflow after cleaning? A reading or a hood test shows the result.
- What happens if you find damage? Ask whether repairs are quoted before work starts.
- How do you handle gas dryers? A gas dryer needs a professional who works around the gas line.
CSIA keeps a directory of certified professionals. Certification is not the same as a local license.
What should you check after any dryer vent cleaning?
After any cleaning, run the dryer and confirm strong, warm airflow at the exterior hood with the flap open. Then note the date.
Loads should dry in their normal time again. The schedule for the next cleaning is in the guide to how often to clean a dryer vent.
How can you split dryer vent care between DIY and a professional?
Do the routine work yourself and leave the full duct to a professional. The routine work is the lint screen after every load and a hood check every 2 to 3 months.
A professional then handles the duct on its own schedule.
Who should start with a professional?
Start with a professional if you have never cleaned the vent, just moved in, or do not know its history. The first cleaning sets a clean baseline, and you can handle routine care afterward.
DIY vs professional dryer vent cleaning in Fort Worth homes
Windblown debris and pests can block the exterior hood in the Fort Worth area. A hood check is worth doing yourself either way.
Homes with an interior or upstairs laundry room often need longer runs than homes with the dryer on an exterior wall. Longer runs usually point to a professional cleaning.
When to call a professional for dryer vent cleaning in Fort Worth
Call a professional when any row in the table points to one, or when a DIY cleaning does not fix the signs.
Chimney Sweep Pro provides dryer vent cleaning in Fort Worth for homeowners in Fort Worth and nearby areas.
For DIY vs professional dryer vent cleaning advice on your vent, or to have it cleaned, call (682) 354-6644.